
Granny squares Patterns are more than just nostalgic patches of crochet; they are a canvas for creativity and expression. Whether you’re an experienced crocheter or just starting out, mastering the art of granny squares opens up a world of possibilities. These colorful motifs can be used in various projects, from cozy blankets to stylish bags.
As we dive into this step-by-step guide, you’ll discover how easy it is to create stunning designs with simple stitches. Get ready to explore different Granny square patterns, techniques, and tips that will elevate your crafting game. Grab your hook and yarn—let’s embark on this delightful journey into the vibrant realm of granny square patterns!
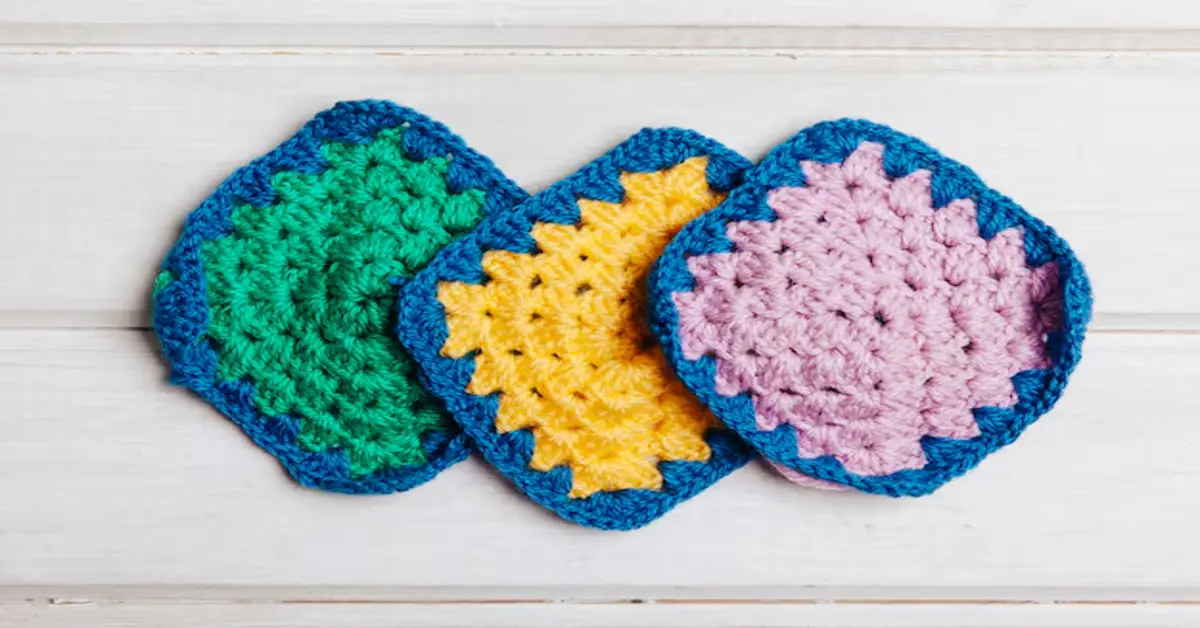
Granny Square Patterns
Granny square patterns come in a delightful array of styles and designs. From classic motifs to modern twists, there’s something for everyone. Each pattern typically consists of repetitive stitches that create unique textures and colors.
Many beginners start with the traditional solid granny square. It’s simple yet allows for variations in color schemes. Once comfortable, you can experiment with more intricate designs like flower squares or lacey variations.
Mixing different patterns can lead to stunning results too! Consider combining large squares with smaller ones or adding borders for flair. The possibilities are endless, making it easy to personalize your projects while showcasing your creativity through each stitch.
Post navigation
Navigating through a blog can enhance your experience, especially when exploring the delightful world of Granny square patterns. Each post often includes links to related articles or guides that dive deeper into various crochet techniques. This makes it easier for you to find inspiration and learn new skills.
The “Post Navigation” section usually appears at the end of an article, providing quick access to other relevant posts. It helps keep your creativity flowing by connecting you with a variety of topics.
Taking advantage of these links allows you to broaden your understanding and refine your craft. You might stumble upon unique patterns or techniques that spark fresh ideas for your next project!
Similar Posts
If you’re diving into the world of Granny square patterns, there are plenty of related topics that can enhance your journey. Explore other crochet techniques and discover how they complement this beloved pattern. From amigurumi to tapestry crochet, these variations add depth to your skills.
You might also find interest in color theory for crochet projects. Understanding how colors interact can elevate your granny square designs significantly. Experimenting with different shades will keep your creations fresh and exciting.
Don’t forget about project ideas! Whether you’re crafting a cozy blanket or decorative coasters, there’s an endless array of possibilities using granny square patterns. Each piece is an opportunity to showcase your creativity while honing your craft further.
Comments
Comments are a vital part of any creative community. They offer a space for crafters to connect, share experiences, and ask questions about granny square patterns. Engaging with others can inspire new ideas and techniques.
When you post your project or question, don’t hesitate to invite feedback. Constructive criticism can enhance your skills and lead to beautiful results. Plus, sharing your successes encourages others in their crochet journey.
Remember to be supportive too! Offering encouragement fosters a positive environment where everyone feels valued. The more we share our thoughts, the richer the crafting experience becomes for all involved. Join the conversation today; you might just spark someone else’s creativity!
Introduction to Granny square patterns
Granny square patterns are a timeless crochet staple that has captured the hearts of crafters for generations. These delightful little motifs can be mixed and matched to create a variety of projects, from blankets to bags. Their versatility makes them perfect for beginners and seasoned crocheters alike.
The beauty of granny squares lies in their simplicity. With just a few stitches, you can create intricate designs that showcase your creativity. They come in countless colors and patterns, allowing endless possibilities for personal expression.
Whether you’re looking to make something cozy or vibrant, granny squares provide an excellent foundation. Each square tells its own story while contributing to a larger masterpiece—inviting both nostalgia and innovation into every stitch.
Essential Tools and Materials
To dive into the world of Granny square patterns, having the right tools and materials is crucial. Start with a good quality crochet hook. Sizes vary, but most beginners find a 5mm (H/8) hook ideal for standard yarn.
Next up is yarn. Choose medium-weight cotton or acrylic in vibrant colors to bring your granny square pattern to life. Remember that different textures can create unique effects, so don’t hesitate to experiment with various fibers.
Keep a pair of scissors and a yarn needle handy for weaving in ends once your squares are complete. A measuring tape may also help ensure consistent sizing for those perfect little squares you’re aiming for!
Getting Started with Granny Squares
Getting started with granny squares is both exciting and simple. Begin by choosing your yarn and hook size, as the thickness will influence your square’s appearance. Cotton or acrylic yarn works best for beginners due to their durability.
Next, familiarize yourself with basic crochet stitches: chain stitch, slip knot, double crochet, and slip stitch. These are essential building blocks for creating your first granny square pattern.
Once you have gathered materials and practiced the stitches, it’s time to dive into a beginner-friendly pattern. Follow along with online tutorials or written instructions to guide you through each step. With practice comes confidence; before long, you’ll be crafting beautiful squares in no time!
Crochet Techniques
Mastering crochet techniques is essential for creating beautiful Granny square patterns. Familiarize yourself with basic stitches like the chain, slip stitch, and double crochet. These are the building blocks of any granny square pattern.
Once you’re comfortable with these stitches, practice changing colors smoothly. This adds depth and vibrancy to your designs. Always remember to carry the yarn behind your work when switching colors to keep everything neat.
Another technique worth exploring is tension control. Keeping an even tension ensures that all your squares are uniform in size, making it easier to join them later on. Experiment with different hooks until you find one that feels just right for your grip and style.
Tips for Perfect Granny Squares
To create perfect Granny square patterns, start with a consistent tension. This ensures each stitch is uniform and your squares lie flat. If you’re struggling with tension, practice on scrap yarn until you find the right balance.
Next, choose high-quality yarn that suits your project. Soft cotton or acrylic blends work well for beginners and seasoned crafters alike. Vibrant colors can enhance your design but stick to a palette that speaks to you.
Pay attention to counting stitches accurately as you crochet. Keeping track of your rounds prevents uneven edges and maintains the integrity of the square’s shape. A stitch marker can be incredibly helpful in marking important points in your pattern.
Advanced Granny Square Designs
Advanced Granny square patterns designs open up a world of creativity. You can mix colors, textures, and patterns to create stunning visual effects. Experimenting with different yarn types adds depth and richness to your projects.
Consider exploring motifs beyond the traditional squares. Hexagons, triangles, or even circular shapes can elevate your work. Combining these shapes in one project will challenge your skills while producing unique results.
Incorporating lacework into granny squares is another exciting avenue. Delicate stitches add elegance and complexity that capture attention. The possibilities are endless when you push boundaries and try new techniques in your advanced granny square patterns.
Joining Your Granny Squares
Joining your granny squares can transform individual pieces into a cohesive masterpiece. There are several methods to consider, each offering unique effects and textures. The whip stitch, slip stitch, and even crocheting them together create different visual results.
To start, lay out your squares in the desired arrangement. This step helps visualize the final product and ensures you’re happy with the design before stitching. Once satisfied, choose your preferred joining method based on aesthetics or ease of use.
As you join, remember to maintain consistent tension for a polished look. Take your time; it’s not just about speed but also ensuring each square connects seamlessly for that perfect finish every crafter dreams of achieving.
Finishing Touches and Beyond
Once you’ve joined your granny squares and created a stunning piece, it’s time for the finishing touches. Weaving in ends helps give your project a polished look. Take care with this step; it makes all the difference.
Consider adding borders to enhance your design further. A simple single crochet or a more intricate shell stitch can elevate the overall appearance of your work.
Additionally, think about how you’ll use or display your finished project. Whether it’s a cozy blanket, handbag, or decorative wall hanging, each option offers unique opportunities for creativity.
Don’t forget to share your creations! Join online communities and showcase what you’ve made using different granny square patterns. You’ll find inspiration and support from fellow crafters who are excited about their own projects too.
So grab those hooks and yarn—your journey with granny squares has only just begun!


