Education
36 F to C: Practical Temperature Guide and Applications

Converting temperatures between Fahrenheit and Celsius is a crucial skill in many fields, from science to everyday activities. For instance, understanding that 36 F to C translates to approximately 2.22°C is essential for weather interpretation, medical assessments, and culinary accuracy. This article explores the significance, applications, and methods of converting 36 degrees Fahrenheit to Celsius.
Understanding Temperature Scales
Temperature scales provide a standardized method of measuring heat and cold. The Fahrenheit scale, developed by Daniel Gabriel Fahrenheit, is primarily used in the United States and a few other regions. It sets 32°F as the freezing point of water and 212°F as its boiling point. The Celsius scale, created by Anders Celsius, is used globally and aligns with the metric system, defining 0°C as the freezing point and 100°C as the boiling point of water.
The Conversion Formula
To convert Fahrenheit to Celsius, the formula is:
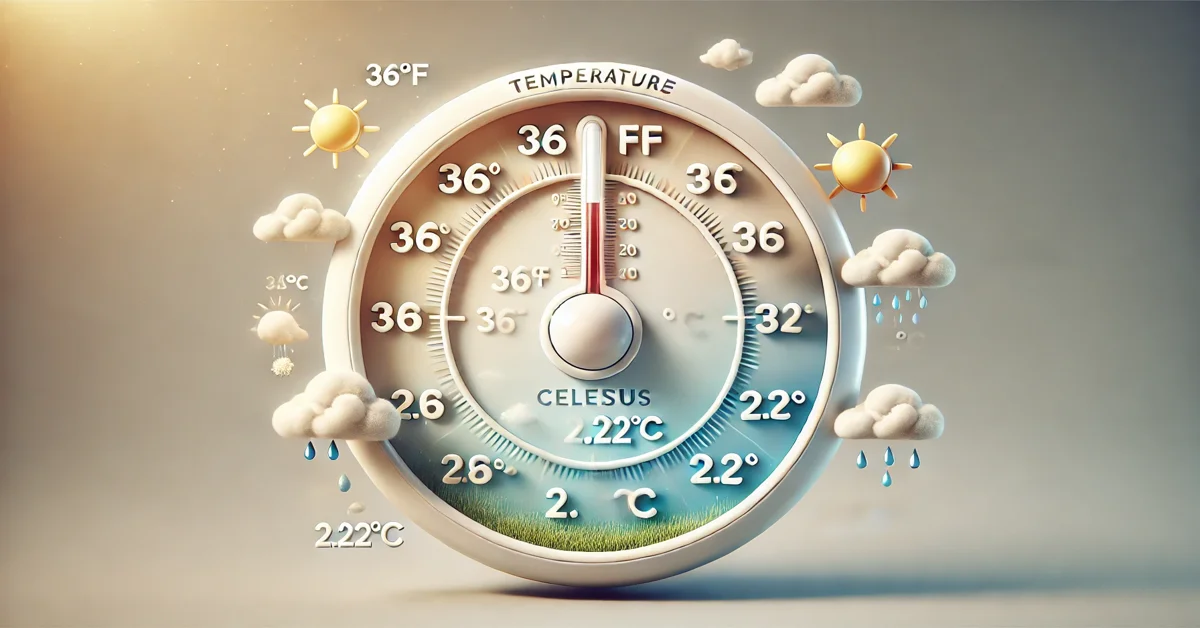
For 36 F to C:
- Subtract 32 from 36:
- Multiply the result by 5/9:
Thus, 36°F is approximately equal to 2.22°C.
Practical Applications of 36 F to C
1. Weather Interpretation
Understanding temperature conversions like 36 F to C is vital for interpreting weather forecasts accurately. For example, a temperature of 36°F suggests cold weather, close to freezing, which translates to around 2.22°C in Celsius.
2. Cooking and Baking
Recipes often list oven temperatures in either Fahrenheit or Celsius, depending on their origin. Knowing how to convert 36 F to C ensures proper cooking conditions, particularly for recipes requiring precision.
3. Medical Contexts
Body temperature measurements are critical in healthcare. While 36°C is close to normal body temperature (96.8°F), interpreting Fahrenheit readings in Celsius helps standardize medical assessments globally.
Historical Context of Temperature Scales
The Fahrenheit scale was one of the first standardized temperature systems, providing a reliable way to measure temperature during its inception in the 18th century. Anders Celsius later introduced the Celsius scale, which gained popularity due to its simplicity and compatibility with the metric system. Both scales serve specific purposes in their respective regions.
Common Conversion Reference Points
Here are standard benchmarks for converting Fahrenheit to Celsius:
- Freezing Point of Water: 0°C = 32°F
- Room Temperature: Approximately 20°C = 68°F
- Normal Body Temperature: Approximately 37°C = 98.6°F
- Boiling Point of Water: 100°C = 212°F
Real-Life Scenarios: Using 36 F to C
Traveling Across Regions
Travelers often encounter different temperature scales. Knowing that 36 F to C is approximately 2.22°C helps them prepare for weather conditions abroad, ensuring appropriate clothing and planning.
Scientific Research
In scientific contexts, accurate temperature conversion is essential for experiments and data reporting. Converting 36°F to Celsius ensures consistency across international research collaborations.
Challenges in Temperature Conversion
Although the conversion formula for 36 F to C is straightforward, real-world challenges include:
- Rounding Errors: Minor rounding discrepancies can lead to inaccuracies, especially in scientific calculations.
- Contextual Understanding: Knowing how converted temperatures apply practically is just as important as the conversion itself.
- Global Standardization: Bridging gaps between Fahrenheit-using and Celsius-using regions remains a challenge.
Tools for Temperature Conversion
Several tools simplify the process of converting 36 F to C:
- Digital Thermometers: Many devices allow users to toggle between Fahrenheit and Celsius.
- Online Calculators: Websites and apps offer quick and accurate conversions.
- Conversion Charts: Handy tables provide instant reference without requiring calculations.
Fun Facts About Temperature Scales
1. Why 32°F?
Daniel Fahrenheit based his scale on three fixed points: the freezing point of water, the average human body temperature, and the coldest temperature achievable with a saltwater ice mixture.
2. Metric vs. Imperial
The Celsius scale aligns with the metric system, while Fahrenheit is part of the imperial system, reflecting historical differences in measurement standards.
Scientific Importance of Conversions
Temperature conversions like 36 F to C play a critical role in science and medicine:
- Weather Studies: Accurate conversions are crucial for meteorological predictions and global climate studies.
- Healthcare: Consistent temperature readings help monitor patient health across regions using different scales.
- Chemistry and Physics: Experimental accuracy often depends on precise temperature measurements.
Conclusion
Converting 36 F to C reveals that 36°F equals approximately 2.22°C. This simple calculation has significant implications in weather forecasting, culinary arts, healthcare, and scientific research. By mastering temperature conversions, individuals can navigate various global contexts more effectively.
FAQs About 36 F to C
- What is the formula to convert Fahrenheit to Celsius? The formula is °C = (°F – 32) × 5/9.
- Why is it important to convert temperatures? Temperature conversion ensures accurate interpretation of data in science, travel, and daily life.
- Is 36°F considered cold? Yes, 36°F is close to freezing and is considered cold weather.
- Which countries use Fahrenheit? The United States and a few Caribbean nations primarily use the Fahrenheit scale.
- What tools can assist with temperature conversion? Digital thermometers, online calculators, and conversion charts are effective tools for accurate temperature conversion.
- Are there other temperature scales besides Fahrenheit and Celsius? Yes, the Kelvin scale is widely used in scientific contexts, particularly in physics and chemistry.
Education
12mm to Inches: Quick Conversion & Practical Guide

The metric system and the imperial system are the two most commonly used measurement systems worldwide. While millimeters (mm) are standard in scientific and engineering fields, inches (in) are commonly used in the United States and a few other countries. If you’ve ever needed to convert 12mm to inches, this guide will help you understand the process, provide useful conversion formulas, and explore real-world applications of this measurement.
How to Convert 12mm to Inches
The Conversion Formula
To convert millimeters to inches, you use the following formula:
Applying this to 12mm:
Thus, 12mm is approximately 0.472 inches.
Quick Millimeter to Inch Conversion Table
If you frequently work with millimeter measurements, here’s a quick reference table for similar conversions:
Millimeters (mm) | Inches (in) |
---|---|
10mm | 0.3937 |
12mm | 0.4724 |
15mm | 0.5906 |
20mm | 0.7874 |
25mm | 0.9842 |
30mm | 1.1811 |
Why Convert 12mm to Inches?
1. Industrial and Engineering Use
Industries like manufacturing, automotive, and construction often require conversions between metric and imperial systems. Many blueprints and product dimensions are provided in both mm and inches, making conversions crucial.
2. DIY and Home Improvement Projects
If you’re purchasing screws, nails, or bolts, you might find that the store lists measurements in inches rather than millimeters. Understanding 12mm to inches ensures you get the right size components.
3. Jewelry and Accessories
- Many jewelry measurements, such as beads, rings, and watch bands, use millimeters.
- If you’re shopping for a 12mm bracelet, knowing it’s about 0.472 inches wide helps when comparing sizes.
4. Medical and Optical Fields
Medical devices, such as lens sizes for eyeglasses, are often measured in millimeters. Understanding conversions helps professionals and patients make informed choices.
How to Convert Inches Back to Millimeters
If you need to convert inches back to millimeters, use this formula:
For example, converting 0.472 inches back to millimeters:
This confirms that 12mm is indeed 0.472 inches.
Tools for Easy Conversion
1. Online Conversion Calculators
Many websites offer free unit conversion tools where you can input millimeters and get the corresponding inches instantly.
2. Mobile Apps
Conversion apps like Unit Converter and Google’s built-in calculator allow quick conversions without manual calculations.
3. Rulers and Measuring Tape
Some rulers feature both metric (mm) and imperial (inches) scales, making conversions easy without any calculations.
Common Mistakes When Converting 12mm to Inches
1. Rounding Errors
- Some people round 0.472 inches to 0.5 inches, which can cause inaccuracies in precision-based fields like engineering.
2. Mixing Up Metric and Imperial Units
- If you’re working on a home project or assembling furniture, ensure you’re using the right measurement system to avoid errors.
3. Using the Wrong Conversion Factor
- Always use 1mm = 0.03937 inches rather than an incorrect approximation.
Conclusion
Converting 12mm to inches is simple using the conversion factor 1mm = 0.03937 inches. Whether you’re working on a DIY project, purchasing jewelry, or handling professional measurements, understanding this conversion helps avoid errors and ensures precision. Now that you know 12mm is approximately 0.472 inches, you can confidently make conversions in various applications.
FAQs About 12mm to Inches
1. How many inches is exactly 12mm?
12mm is approximately 0.472 inches.
2. Is 12mm the same as 1/2 inch?
No, 12mm is slightly less than 1/2 inch. One-half inch is equal to 12.7mm.
3. What objects are around 12mm in size?
- A standard marble is about 12mm in diameter.
- A small dice used in board games is typically around 12mm on each side.
- A thick marker tip might measure approximately 12mm.
4. Why is it important to know millimeter to inch conversions?
Conversions are necessary for fields like manufacturing, engineering, home improvement, jewelry, and medicine where measurements must be precise.
5. Can I use a standard ruler to measure 12mm?
Yes! A metric ruler will have millimeter markings, while an imperial ruler will show inches divided into 16ths or 32nds.
Education
Easy Sunflower Drawing: Step-by-Step Guide for Beginners

Sunflowers are a timeless and beautiful subject for artists of all levels. Their bright petals and intricate centers make them an exciting challenge to draw. Whether you are a beginner or an experienced artist, this step-by-step guide will help you create a stunning sunflower drawing while improving your sketching and shading skills.
Why Draw a Sunflower?
Sunflowers symbolize happiness, warmth, and positivity, making them a popular subject in art. Drawing sunflowers can help improve your observation skills, enhance your understanding of symmetry, and refine your shading techniques.
Essential Tools for Sunflower Drawing
Before you start, gather the necessary tools:
- Pencils: HB for sketching, 2B-6B for shading
- Erasers: Kneaded and precision erasers for highlights
- Paper: Medium to smooth texture for finer details
- Blending Tools: Cotton swabs, blending stumps, or tissue
- Reference Images: Photos or artwork for accuracy
Step-by-Step Guide to Drawing a Sunflower
Step 1: Sketch the Basic Shape
- Draw a circle for the center of the sunflower
- Lightly sketch a larger circle around it to define the petal area
- Use guidelines to divide the center evenly for better symmetry
Step 2: Add the Petals
- Sketch elongated, slightly curved petals around the center
- Vary petal sizes and angles for a natural look
- Overlap some petals to add depth and realism
Step 3: Draw the Center Details
- Add a smaller inner circle for the sunflower’s disk
- Use tiny dots and curved lines to create texture
- Shade the center gradually for a realistic effect
Step 4: Outline the Stem and Leaves
- Draw a slightly curved stem extending from the base
- Sketch broad, serrated leaves along the stem
- Add veins inside the leaves for more detail
Step 5: Add Shading and Final Details
- Shade the petals lightly, keeping the edges brighter
- Darken the base of each petal for depth
- Use blending tools for smooth shading
- Add final highlights to enhance the realistic effect
Tips for Improving Your Sunflower Drawing
- Study Real Sunflowers: Observing live or photo references improves accuracy.
- Use Layered Shading: Build up shading gradually for a more natural look.
- Experiment with Different Angles: Try drawing sunflowers from different perspectives.
- Practice Petal Overlaps: Overlapping petals add realism and depth.
Conclusion
Drawing a sunflower is a rewarding artistic exercise that enhances your skills in shading, texture, and composition. Follow this step-by-step guide to create a beautiful sunflower drawing, and don’t forget to practice different techniques to refine your art further!
Frequently Asked Questions (FAQs)
1. How do I make my sunflower drawing look realistic? Focus on shading, petal variations, and detailed texture in the center.
2. What pencil is best for shading sunflowers? Use a combination of HB, 2B, and 4B pencils for depth and contrast.
3. How can I draw a sunflower without a reference? Memorize its structure—round center, layered petals, and textured details.
Education
Wolf Drawing: Techniques for Realistic and Easy Sketches

Drawing a wolf can be a rewarding artistic challenge, whether you’re a beginner or an experienced artist. Wolves have a majestic, powerful appearance, making them a favorite subject for wildlife drawings. This guide will walk you through the essential steps, techniques, and tips to create a realistic wolf drawing. From sketching basic shapes to refining fur details and expressive eyes, you’ll learn how to bring your wolf artwork to life.
Tools and Materials for Wolf Drawing
Before starting your wolf drawing, gather the right materials. The choice of tools depends on your preferred drawing style, whether it’s pencil sketching, ink drawing, or digital art.
Recommended Tools:
- Pencils: HB, 2B, 4B, and 6B for shading and depth.
- Erasers: Kneaded erasers for soft corrections and precision erasers for fine details.
- Blending tools: Tortillons, tissue paper, or cotton swabs for smooth shading.
- Fine liners or ink pens: For a defined, stylized look.
- Digital drawing tablet: If working in Procreate, Photoshop, or another digital medium.
Step-by-Step Guide to Drawing a Wolf
Step 1: Sketch Basic Shapes
Start with simple shapes to define the wolf’s structure. Use:
- A large oval for the head.
- A slightly elongated oval for the snout.
- Triangle shapes for the ears.
- Basic circles for the body structure.
Step 2: Outline the Wolf’s Features
- Sketch light guidelines for facial symmetry.
- Define the placement of the eyes, nose, and mouth.
- Adjust the ears for accurate positioning.
Step 3: Refine the Face and Add Details
- Draw the almond-shaped eyes with an intense gaze.
- Add the nose with slight shading for a wet, reflective look.
- Sketch the mouth slightly open or closed for expression.
Step 4: Define the Fur Texture
- Use short, directional pencil strokes to simulate fur.
- Layer different shades to create depth and realism.
- Focus on fur flow, especially around the neck and face.
Step 5: Add Shading and Depth
- Identify a light source to guide your shading.
- Use a blending tool for smooth transitions.
- Darken shadows around the snout, ears, and fur creases for dimension.
Step 6: Final Touches
- Erase unnecessary guidelines.
- Deepen dark areas for contrast.
- Add highlights to the eyes and nose for a lifelike effect.
Tips for a Realistic Wolf Drawing
1. Study Wolf Anatomy
- Observe real-life wolf photos.
- Understand their skeletal and muscular structure.
- Pay attention to fur patterns and density.
2. Experiment with Different Poses
- A standing wolf shows strength and alertness.
- A howling wolf adds drama and emotion.
- A resting wolf captures calmness and serenity.
3. Use References
- Look at wildlife photography.
- Study other artists’ techniques.
- Practice sketching from different angles.
4. Digital vs. Traditional Drawing
- Digital tools offer easier corrections and layering.
- Pencil drawings provide texture and depth through shading.
- Experiment with both to find your style.
Conclusion
Drawing a wolf requires patience and practice, but with the right techniques, anyone can create stunning artwork. By mastering anatomy, fur texture, and shading, you can bring your wolf drawings to life. Grab your sketchpad, follow these steps, and start drawing today!
Frequently Asked Questions (FAQs)
- 1. How can I make my wolf drawing look more realistic?
Focus on accurate proportions, detailed fur texture, and expressive eyes.
- 2. What is the hardest part of drawing a wolf?
Capturing the fur texture and facial expression can be challenging but improves with practice.
- 3. Can beginners draw wolves easily?
Yes! Start with basic shapes, practice shading, and gradually refine details.
- 4. What’s the best way to learn wolf drawing?
Use reference images, follow step-by-step guides, and practice regularly.
- Entertainment2 months ago
Celebrity Movie Archives: Hidden Gems and Iconic Performance
- Entertainment2 months ago
Javrank: Guide to Adult Entertainment & Innovative Features
- Games2 months ago
Snokido: The Ultimate Online Gaming Hub for All Ages
- Technology4 weeks ago
InfluencersGineWuld: Revolutionizing Influencer Marketing for Brands
- LifeStyle2 months ago
CumonPrintedPics: Personalized Prints and Creative Platform
- Business2 months ago
Fintechzoom.com dax40 : Insights & Trends and Updates
- Technology4 weeks ago
BeTechIT.com Contacts: For 24/7 Effortless Tech Solutions
- Food & Drinks4 weeks ago
Çeciir: A Hearty Turkish Chickpea Stew with Rich Flavors