Connect with us

Education

Convert 30 Degrees C to F: Comprehensive Temperature Guide

Published

on

30 degrees C to F

Converting temperatures between Celsius and Fahrenheit is an essential skill, especially for travelers, scientists, and individuals working in global contexts. For instance, understanding that 30 degrees C to F translates to 86 degrees Fahrenheit is crucial for interpreting weather reports, scientific data, and even cooking instructions. This article delves into the history, application, and practical importance of temperature conversion, focusing on 30 degrees C to F.

Understanding Temperature Scales

The Celsius scale, also known as Centigrade, is widely used worldwide, particularly in scientific contexts and by countries outside the United States. The Fahrenheit scale, on the other hand, is predominantly used in the United States and its territories. Both scales measure temperature but differ in their starting points and increments.

The Conversion Formula

To convert temperatures from Celsius to Fahrenheit, use the following formula:

F = (°C × 9/5) + 32.

Applying this formula to 30 degrees Celsius:

  1. Multiply 30 by 9/5:
  2. Add 32 to the result:

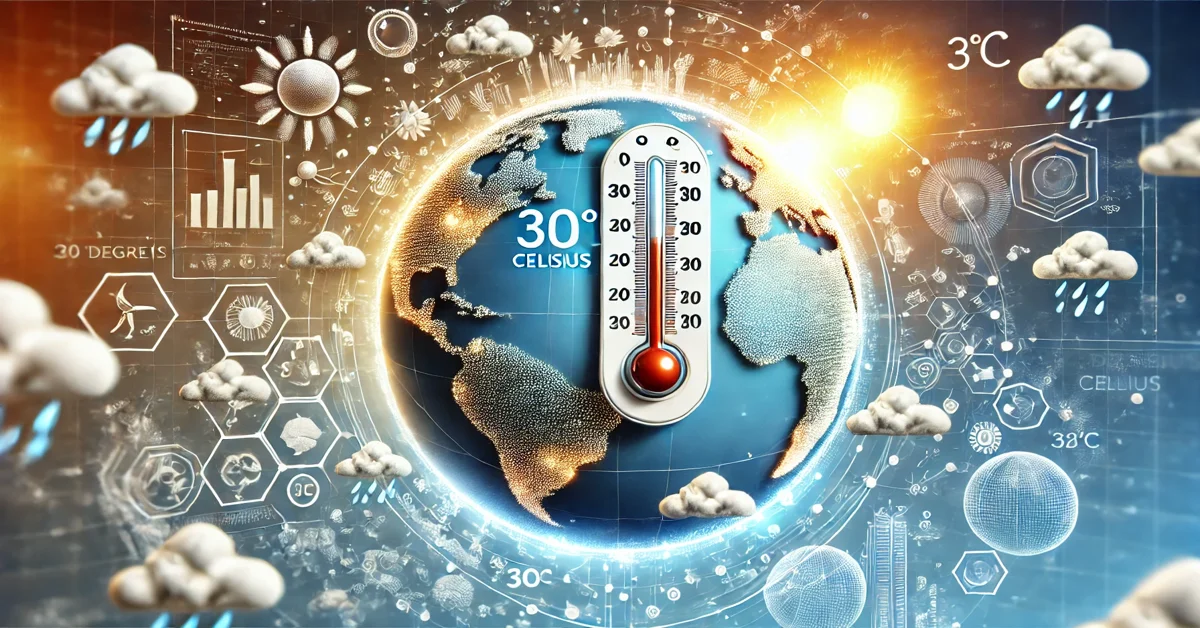
Thus, 30 degrees C to F equals 86 degrees Fahrenheit.

Practical Implications of 30°C (86°F)

A temperature of 30°C (86°F) is considered warm and often associated with summer weather. This temperature is typical in tropical and subtropical regions and can signify a hot day in temperate climates. Understanding this conversion is crucial for preparing appropriate clothing, hydration, and sun protection measures.

Global Perspectives on 30 Degrees C to F

The perception of 30°C varies based on regional climates:

  • Tropical Regions: 30°C is common and often represents a regular day.
  • Temperate Regions: This temperature signifies a hot day, typically occurring in summer.
  • Polar Regions: 30°C is an extreme anomaly and rarely experienced.

Understanding 30 degrees C to F enhances global communication, especially for travelers interpreting local weather forecasts.

Historical Context of Temperature Scales

The Celsius scale was developed by Swedish astronomer Anders Celsius in the 18th century. He defined 0°C as the freezing point of water and 100°C as its boiling point at standard atmospheric pressure. The Fahrenheit scale, introduced by Daniel Gabriel Fahrenheit, sets 32°F as water’s freezing point and 212°F as its boiling point. Both scales serve specific purposes and cater to different cultural and scientific needs.

Applications in Science and Daily Life

Accurate temperature conversion, such as 30 degrees C to F, is critical in various fields:

  • Science: Ensures precision in experiments and data interpretation.
  • Cooking: Helps in following recipes with international temperature standards.
  • Travel: Aids in preparing for weather conditions in different countries.
  • Healthcare: Assists in monitoring body temperatures accurately across scales.

Common Conversion Reference Points

Below are some standard reference points for temperature conversion:

  • 0°C = 32°F (Freezing point of water)
  • 20°C = 68°F (Room temperature)
  • 30°C = 86°F (Warm day)
  • 100°C = 212°F (Boiling point of water)

Real-Life Scenario: A Traveler’s Guide

Imagine planning a trip to a tropical destination where the weather report indicates 30°C. Converting this to Fahrenheit (30 degrees C to F = 86°F) provides a clearer understanding of what to expect. This conversion allows travelers to pack appropriate clothing and plan activities accordingly.

Scientific Importance of Accurate Conversions

In fields such as meteorology and environmental science, accurate temperature conversions are essential. For example:

  • Weather Reports: Ensure consistent communication of data across regions using different scales.
  • Climate Studies: Facilitate global research by standardizing temperature data.
  • Medicine: Help in understanding fever thresholds in different scales.

Fun Facts About Temperature Scales

  1. Why 32°F? Daniel Fahrenheit based his scale on three reference points: the freezing point of water, the average human body temperature, and the lowest temperature achievable with a saltwater ice mixture.
  2. Metric vs. Imperial: The Celsius scale is part of the metric system, while Fahrenheit belongs to the imperial system, reflecting historical differences in measurement systems.

Challenges in Temperature Conversion

While the formula for converting 30 degrees C to F is straightforward, real-world challenges include:

  • Precision: Ensuring calculations are accurate to avoid errors in critical fields.
  • Context: Understanding the practical implications of converted temperatures.
  • Adoption: Encouraging the use of a standardized system for global consistency.

Conclusion

Converting 30 degrees C to F reveals that it equates to 86°F. This knowledge is not just academic; it plays a vital role in everyday life, from planning vacations to conducting scientific research. By understanding temperature conversion, individuals can navigate diverse global contexts with ease.

CLICK HERE FOR MORE

FAQs About Temperature Conversion

  1. What is the formula to convert Celsius to Fahrenheit? The formula is °F = (°C × 9/5) + 32.
  2. Why is it important to convert temperatures? It ensures accurate communication and understanding of temperature data globally.
  3. Is 30°C considered a high temperature? Yes, 30°C (86°F) is generally warm and typical of summer weather in many regions.
  4. Which countries use the Fahrenheit scale? The United States and its territories primarily use the Fahrenheit scale.
  5. Who developed the Celsius and Fahrenheit scales? Anders Celsius developed the Celsius scale, while Daniel Gabriel Fahrenheit introduced the Fahrenheit scale.
  6. How can I easily convert temperatures? Use the formula or online conversion tools for quick and accurate results.

Continue Reading
Click to comment

Leave a Reply

Your email address will not be published. Required fields are marked *

Education

12mm to Inches: Quick Conversion & Practical Guide

Published

on

12mm to Inches

The metric system and the imperial system are the two most commonly used measurement systems worldwide. While millimeters (mm) are standard in scientific and engineering fields, inches (in) are commonly used in the United States and a few other countries. If you’ve ever needed to convert 12mm to inches, this guide will help you understand the process, provide useful conversion formulas, and explore real-world applications of this measurement.

How to Convert 12mm to Inches

The Conversion Formula

To convert millimeters to inches, you use the following formula:

Applying this to 12mm:

Thus, 12mm is approximately 0.472 inches.

Quick Millimeter to Inch Conversion Table

If you frequently work with millimeter measurements, here’s a quick reference table for similar conversions:

Millimeters (mm)Inches (in)
10mm0.3937
12mm0.4724
15mm0.5906
20mm0.7874
25mm0.9842
30mm1.1811

Why Convert 12mm to Inches?

1. Industrial and Engineering Use

Industries like manufacturing, automotive, and construction often require conversions between metric and imperial systems. Many blueprints and product dimensions are provided in both mm and inches, making conversions crucial.

2. DIY and Home Improvement Projects

If you’re purchasing screws, nails, or bolts, you might find that the store lists measurements in inches rather than millimeters. Understanding 12mm to inches ensures you get the right size components.

3. Jewelry and Accessories

  • Many jewelry measurements, such as beads, rings, and watch bands, use millimeters.
  • If you’re shopping for a 12mm bracelet, knowing it’s about 0.472 inches wide helps when comparing sizes.

4. Medical and Optical Fields

Medical devices, such as lens sizes for eyeglasses, are often measured in millimeters. Understanding conversions helps professionals and patients make informed choices.

How to Convert Inches Back to Millimeters

If you need to convert inches back to millimeters, use this formula:

For example, converting 0.472 inches back to millimeters:

This confirms that 12mm is indeed 0.472 inches.

Tools for Easy Conversion

1. Online Conversion Calculators

Many websites offer free unit conversion tools where you can input millimeters and get the corresponding inches instantly.

2. Mobile Apps

Conversion apps like Unit Converter and Google’s built-in calculator allow quick conversions without manual calculations.

3. Rulers and Measuring Tape

Some rulers feature both metric (mm) and imperial (inches) scales, making conversions easy without any calculations.

Common Mistakes When Converting 12mm to Inches

1. Rounding Errors

  • Some people round 0.472 inches to 0.5 inches, which can cause inaccuracies in precision-based fields like engineering.

2. Mixing Up Metric and Imperial Units

  • If you’re working on a home project or assembling furniture, ensure you’re using the right measurement system to avoid errors.

3. Using the Wrong Conversion Factor

  • Always use 1mm = 0.03937 inches rather than an incorrect approximation.

Conclusion

Converting 12mm to inches is simple using the conversion factor 1mm = 0.03937 inches. Whether you’re working on a DIY project, purchasing jewelry, or handling professional measurements, understanding this conversion helps avoid errors and ensures precision. Now that you know 12mm is approximately 0.472 inches, you can confidently make conversions in various applications.

FAQs About 12mm to Inches

1. How many inches is exactly 12mm?

12mm is approximately 0.472 inches.

2. Is 12mm the same as 1/2 inch?

No, 12mm is slightly less than 1/2 inch. One-half inch is equal to 12.7mm.

3. What objects are around 12mm in size?

  • A standard marble is about 12mm in diameter.
  • A small dice used in board games is typically around 12mm on each side.
  • A thick marker tip might measure approximately 12mm.

4. Why is it important to know millimeter to inch conversions?

Conversions are necessary for fields like manufacturing, engineering, home improvement, jewelry, and medicine where measurements must be precise.

5. Can I use a standard ruler to measure 12mm?

Yes! A metric ruler will have millimeter markings, while an imperial ruler will show inches divided into 16ths or 32nds.

Continue Reading

Education

Easy Sunflower Drawing: Step-by-Step Guide for Beginners

Published

on

Sunflower Drawing

Sunflowers are a timeless and beautiful subject for artists of all levels. Their bright petals and intricate centers make them an exciting challenge to draw. Whether you are a beginner or an experienced artist, this step-by-step guide will help you create a stunning sunflower drawing while improving your sketching and shading skills.

Why Draw a Sunflower?

Sunflowers symbolize happiness, warmth, and positivity, making them a popular subject in art. Drawing sunflowers can help improve your observation skills, enhance your understanding of symmetry, and refine your shading techniques.

Essential Tools for Sunflower Drawing

Before you start, gather the necessary tools:

  • Pencils: HB for sketching, 2B-6B for shading
  • Erasers: Kneaded and precision erasers for highlights
  • Paper: Medium to smooth texture for finer details
  • Blending Tools: Cotton swabs, blending stumps, or tissue
  • Reference Images: Photos or artwork for accuracy

Step-by-Step Guide to Drawing a Sunflower

Step 1: Sketch the Basic Shape

  • Draw a circle for the center of the sunflower
  • Lightly sketch a larger circle around it to define the petal area
  • Use guidelines to divide the center evenly for better symmetry

Step 2: Add the Petals

  • Sketch elongated, slightly curved petals around the center
  • Vary petal sizes and angles for a natural look
  • Overlap some petals to add depth and realism

Step 3: Draw the Center Details

  • Add a smaller inner circle for the sunflower’s disk
  • Use tiny dots and curved lines to create texture
  • Shade the center gradually for a realistic effect

Step 4: Outline the Stem and Leaves

  • Draw a slightly curved stem extending from the base
  • Sketch broad, serrated leaves along the stem
  • Add veins inside the leaves for more detail

Step 5: Add Shading and Final Details

  • Shade the petals lightly, keeping the edges brighter
  • Darken the base of each petal for depth
  • Use blending tools for smooth shading
  • Add final highlights to enhance the realistic effect

Tips for Improving Your Sunflower Drawing

  • Study Real Sunflowers: Observing live or photo references improves accuracy.
  • Use Layered Shading: Build up shading gradually for a more natural look.
  • Experiment with Different Angles: Try drawing sunflowers from different perspectives.
  • Practice Petal Overlaps: Overlapping petals add realism and depth.

Conclusion

Drawing a sunflower is a rewarding artistic exercise that enhances your skills in shading, texture, and composition. Follow this step-by-step guide to create a beautiful sunflower drawing, and don’t forget to practice different techniques to refine your art further!

Frequently Asked Questions (FAQs)

1. How do I make my sunflower drawing look realistic? Focus on shading, petal variations, and detailed texture in the center.

2. What pencil is best for shading sunflowers? Use a combination of HB, 2B, and 4B pencils for depth and contrast.

3. How can I draw a sunflower without a reference? Memorize its structure—round center, layered petals, and textured details.

Continue Reading

Education

Wolf Drawing: Techniques for Realistic and Easy Sketches

Published

on

Wolf Drawing

Drawing a wolf can be a rewarding artistic challenge, whether you’re a beginner or an experienced artist. Wolves have a majestic, powerful appearance, making them a favorite subject for wildlife drawings. This guide will walk you through the essential steps, techniques, and tips to create a realistic wolf drawing. From sketching basic shapes to refining fur details and expressive eyes, you’ll learn how to bring your wolf artwork to life.

Tools and Materials for Wolf Drawing

Before starting your wolf drawing, gather the right materials. The choice of tools depends on your preferred drawing style, whether it’s pencil sketching, ink drawing, or digital art.

Recommended Tools:

  • Pencils: HB, 2B, 4B, and 6B for shading and depth.
  • Erasers: Kneaded erasers for soft corrections and precision erasers for fine details.
  • Blending tools: Tortillons, tissue paper, or cotton swabs for smooth shading.
  • Fine liners or ink pens: For a defined, stylized look.
  • Digital drawing tablet: If working in Procreate, Photoshop, or another digital medium.

Step-by-Step Guide to Drawing a Wolf

Step 1: Sketch Basic Shapes

Start with simple shapes to define the wolf’s structure. Use:

  • A large oval for the head.
  • A slightly elongated oval for the snout.
  • Triangle shapes for the ears.
  • Basic circles for the body structure.

Step 2: Outline the Wolf’s Features

  • Sketch light guidelines for facial symmetry.
  • Define the placement of the eyes, nose, and mouth.
  • Adjust the ears for accurate positioning.

Step 3: Refine the Face and Add Details

  • Draw the almond-shaped eyes with an intense gaze.
  • Add the nose with slight shading for a wet, reflective look.
  • Sketch the mouth slightly open or closed for expression.

Step 4: Define the Fur Texture

  • Use short, directional pencil strokes to simulate fur.
  • Layer different shades to create depth and realism.
  • Focus on fur flow, especially around the neck and face.

Step 5: Add Shading and Depth

  • Identify a light source to guide your shading.
  • Use a blending tool for smooth transitions.
  • Darken shadows around the snout, ears, and fur creases for dimension.

Step 6: Final Touches

  • Erase unnecessary guidelines.
  • Deepen dark areas for contrast.
  • Add highlights to the eyes and nose for a lifelike effect.

Tips for a Realistic Wolf Drawing

1. Study Wolf Anatomy

  • Observe real-life wolf photos.
  • Understand their skeletal and muscular structure.
  • Pay attention to fur patterns and density.

2. Experiment with Different Poses

  • A standing wolf shows strength and alertness.
  • A howling wolf adds drama and emotion.
  • A resting wolf captures calmness and serenity.

3. Use References

  • Look at wildlife photography.
  • Study other artists’ techniques.
  • Practice sketching from different angles.

4. Digital vs. Traditional Drawing

  • Digital tools offer easier corrections and layering.
  • Pencil drawings provide texture and depth through shading.
  • Experiment with both to find your style.

Conclusion

Drawing a wolf requires patience and practice, but with the right techniques, anyone can create stunning artwork. By mastering anatomy, fur texture, and shading, you can bring your wolf drawings to life. Grab your sketchpad, follow these steps, and start drawing today!

Frequently Asked Questions (FAQs)

  • 1. How can I make my wolf drawing look more realistic?

Focus on accurate proportions, detailed fur texture, and expressive eyes.

  • 2. What is the hardest part of drawing a wolf?

Capturing the fur texture and facial expression can be challenging but improves with practice.

  • 3. Can beginners draw wolves easily?

Yes! Start with basic shapes, practice shading, and gradually refine details.

  • 4. What’s the best way to learn wolf drawing?

Use reference images, follow step-by-step guides, and practice regularly.

Continue Reading

Trending