
Drawing a wolf can be a rewarding artistic challenge, whether you’re a beginner or an experienced artist. Wolves have a majestic, powerful appearance, making them a favorite subject for wildlife drawings. This guide will walk you through the essential steps, techniques, and tips to create a realistic wolf drawing. From sketching basic shapes to refining fur details and expressive eyes, you’ll learn how to bring your wolf artwork to life.
Tools and Materials for Wolf Drawing
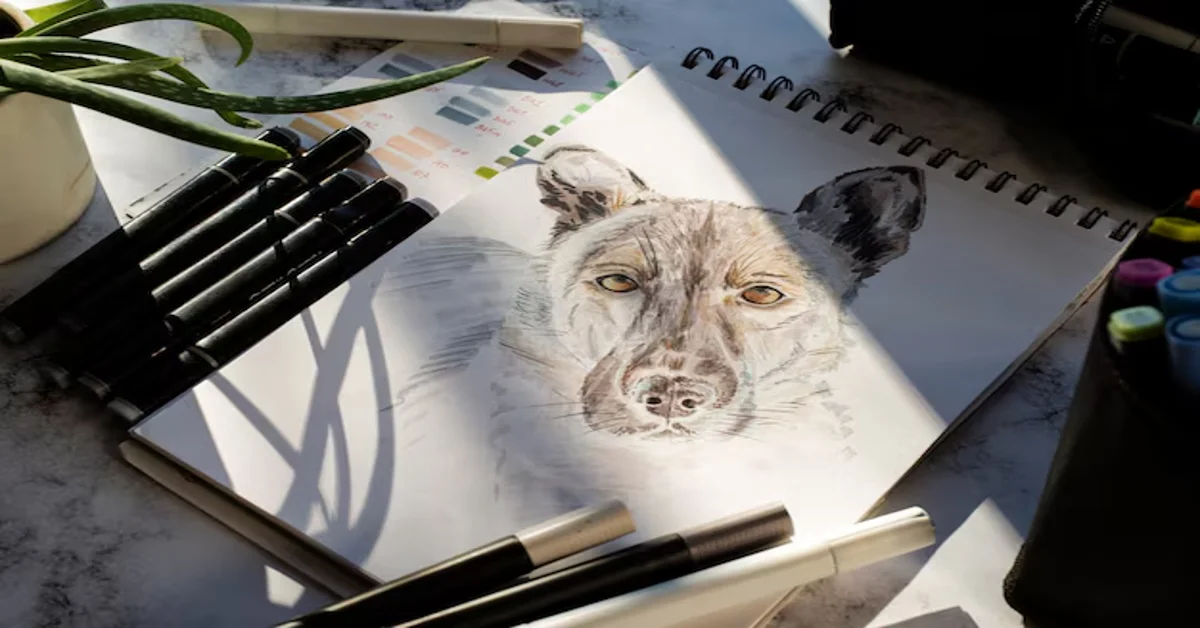
Before starting your wolf drawing, gather the right materials. The choice of tools depends on your preferred drawing style, whether it’s pencil sketching, ink drawing, or digital art.
Recommended Tools:
- Pencils: HB, 2B, 4B, and 6B for shading and depth.
- Erasers: Kneaded erasers for soft corrections and precision erasers for fine details.
- Blending tools: Tortillons, tissue paper, or cotton swabs for smooth shading.
- Fine liners or ink pens: For a defined, stylized look.
- Digital drawing tablet: If working in Procreate, Photoshop, or another digital medium.
Step-by-Step Guide to Drawing a Wolf
Step 1: Sketch Basic Shapes
Start with simple shapes to define the wolf’s structure. Use:
- A large oval for the head.
- A slightly elongated oval for the snout.
- Triangle shapes for the ears.
- Basic circles for the body structure.
Step 2: Outline the Wolf’s Features
- Sketch light guidelines for facial symmetry.
- Define the placement of the eyes, nose, and mouth.
- Adjust the ears for accurate positioning.
Step 3: Refine the Face and Add Details
- Draw the almond-shaped eyes with an intense gaze.
- Add the nose with slight shading for a wet, reflective look.
- Sketch the mouth slightly open or closed for expression.
Step 4: Define the Fur Texture
- Use short, directional pencil strokes to simulate fur.
- Layer different shades to create depth and realism.
- Focus on fur flow, especially around the neck and face.
Step 5: Add Shading and Depth
- Identify a light source to guide your shading.
- Use a blending tool for smooth transitions.
- Darken shadows around the snout, ears, and fur creases for dimension.
Step 6: Final Touches
- Erase unnecessary guidelines.
- Deepen dark areas for contrast.
- Add highlights to the eyes and nose for a lifelike effect.
Tips for a Realistic Wolf Drawing
1. Study Wolf Anatomy
- Observe real-life wolf photos.
- Understand their skeletal and muscular structure.
- Pay attention to fur patterns and density.
2. Experiment with Different Poses
- A standing wolf shows strength and alertness.
- A howling wolf adds drama and emotion.
- A resting wolf captures calmness and serenity.
3. Use References
- Look at wildlife photography.
- Study other artists’ techniques.
- Practice sketching from different angles.
4. Digital vs. Traditional Drawing
- Digital tools offer easier corrections and layering.
- Pencil drawings provide texture and depth through shading.
- Experiment with both to find your style.
Conclusion
Drawing a wolf requires patience and practice, but with the right techniques, anyone can create stunning artwork. By mastering anatomy, fur texture, and shading, you can bring your wolf drawings to life. Grab your sketchpad, follow these steps, and start drawing today!
Frequently Asked Questions (FAQs)
- 1. How can I make my wolf drawing look more realistic?
Focus on accurate proportions, detailed fur texture, and expressive eyes.
- 2. What is the hardest part of drawing a wolf?
Capturing the fur texture and facial expression can be challenging but improves with practice.
- 3. Can beginners draw wolves easily?
Yes! Start with basic shapes, practice shading, and gradually refine details.
- 4. What’s the best way to learn wolf drawing?
Use reference images, follow step-by-step guides, and practice regularly.


